Have you seen the bowtie inlays in a bunch of my projects? I use them to stabilize cracks and age spots in reclaimed lumber. Slickest and easiest way to add bow ties and other wooden inlays is with a kit from Slabstitcher. They are a family owned and operated business in Pennsylvania and I’m a huge fan!


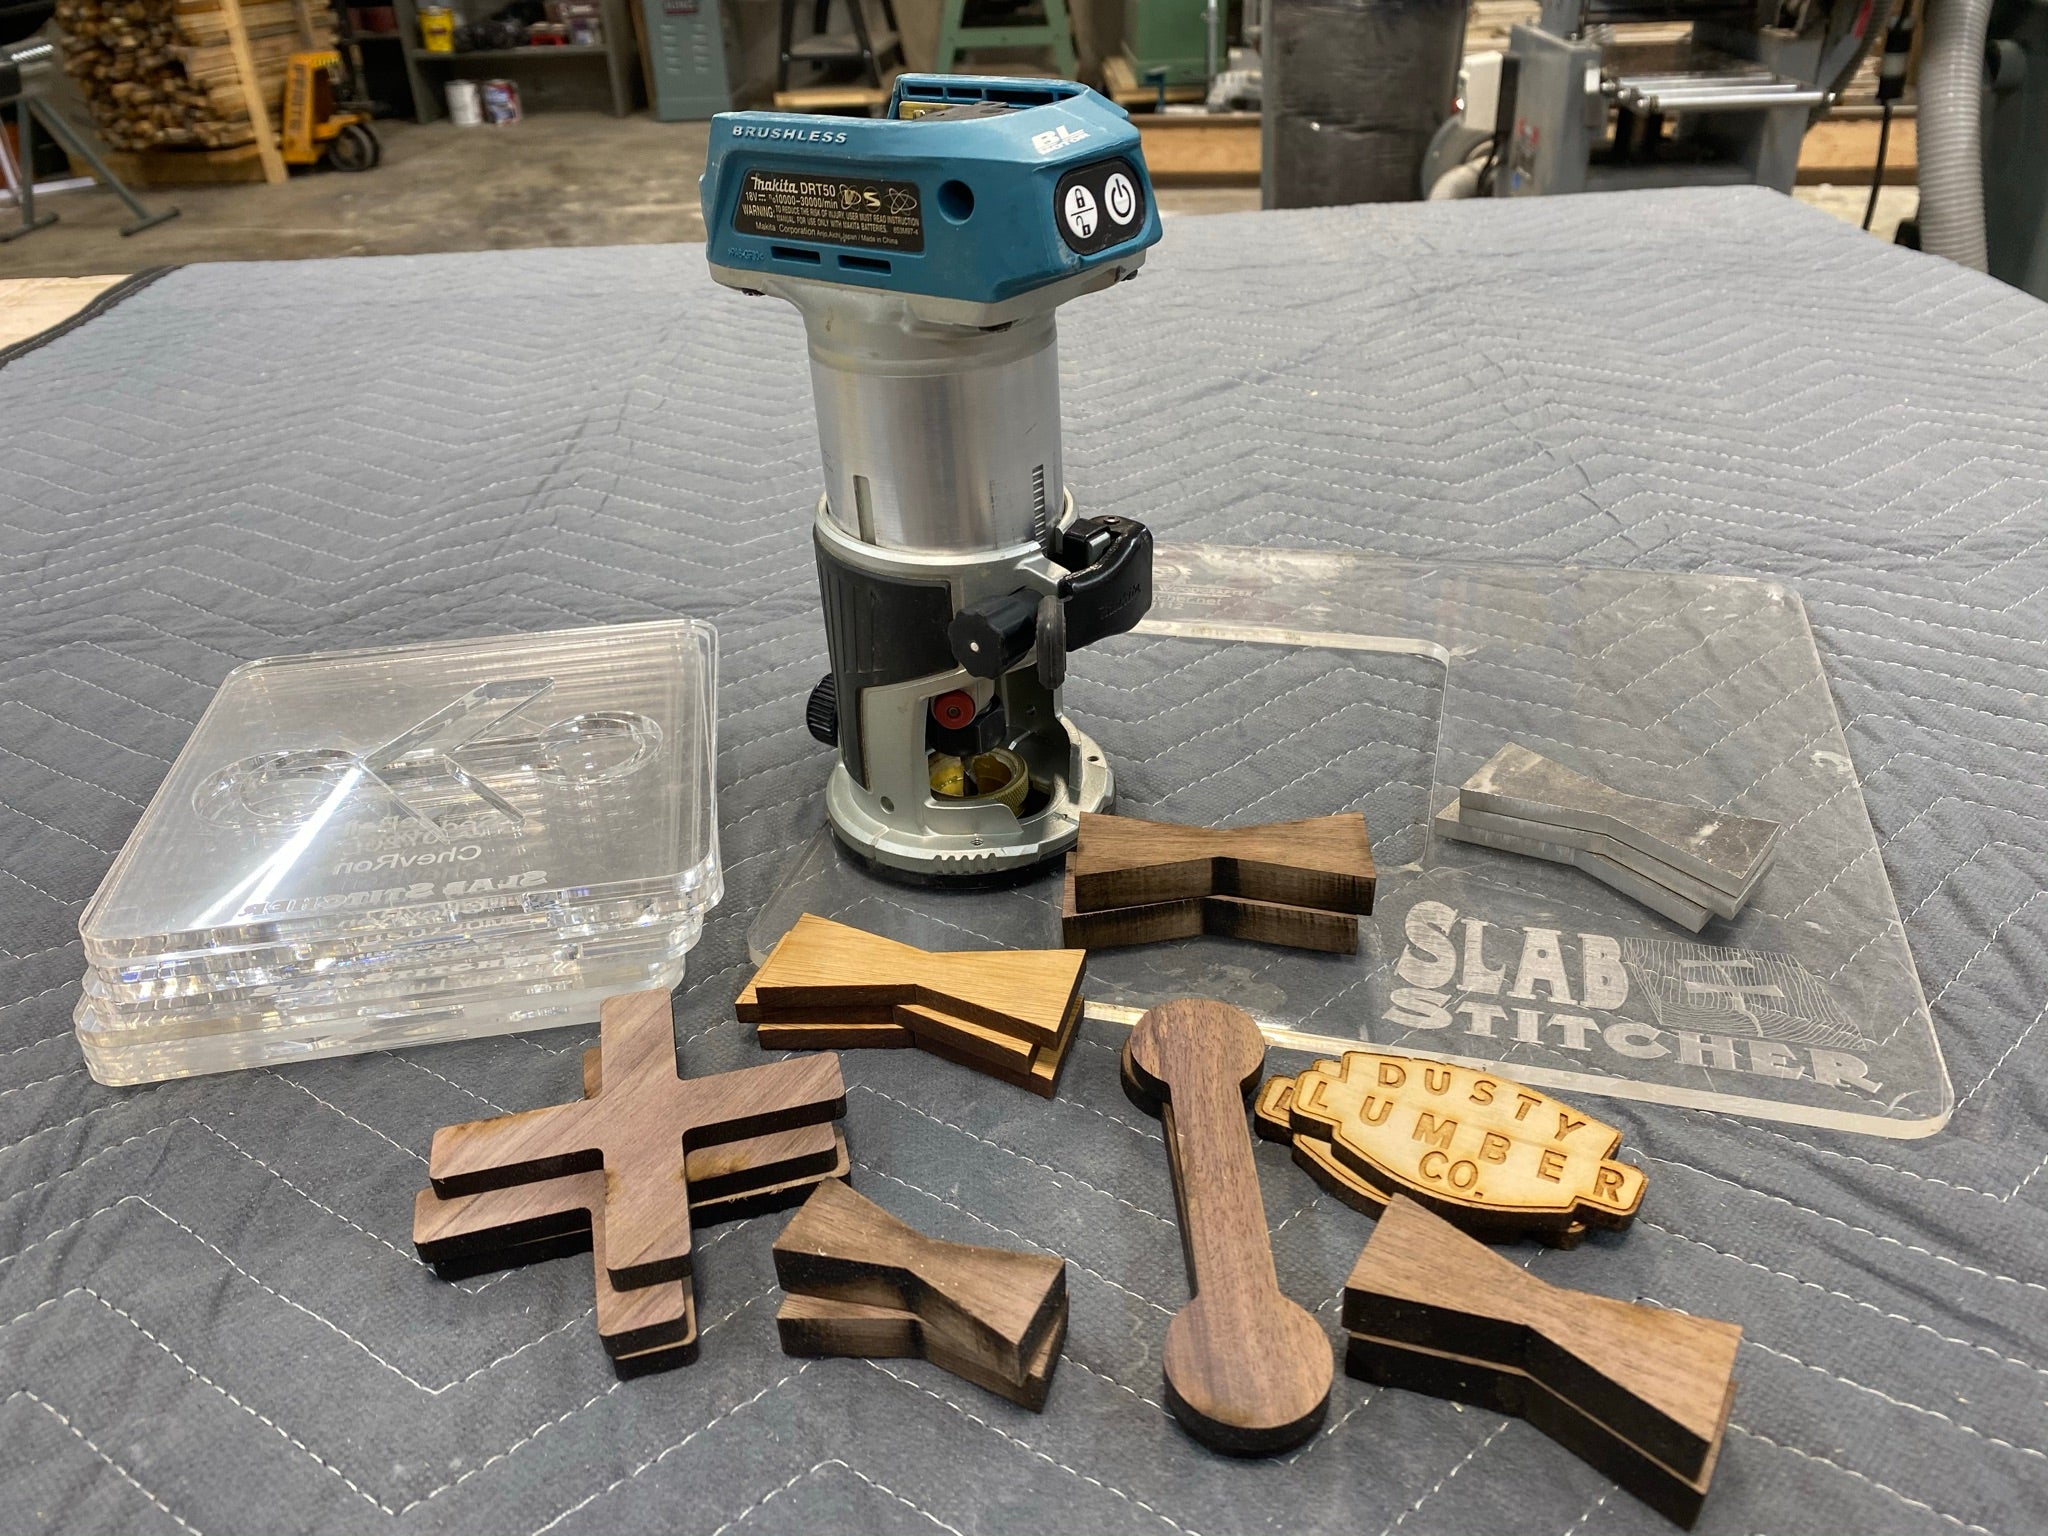
Slabstitcher kits come with everything you need to get started! They include an acrylic main frame, template(s), router bit, bushing with centering pin, and inlays. The inlays and associated templates come in different sizes and shapes like bow ties, butterflies, American states, acorns, crosses, chevrons, hearts, dog bones and more! I use the bow tie and the X stitch the most. You can also individually purchase additional inlays, templates and replacement pieces.
Here’s how I use Slabstitcher for my woodworking projects:
-
Place the main large frame on a flat surface
-
Add in the template insert
-
Locate desired final placement for the Slabstitcher on the wood
-
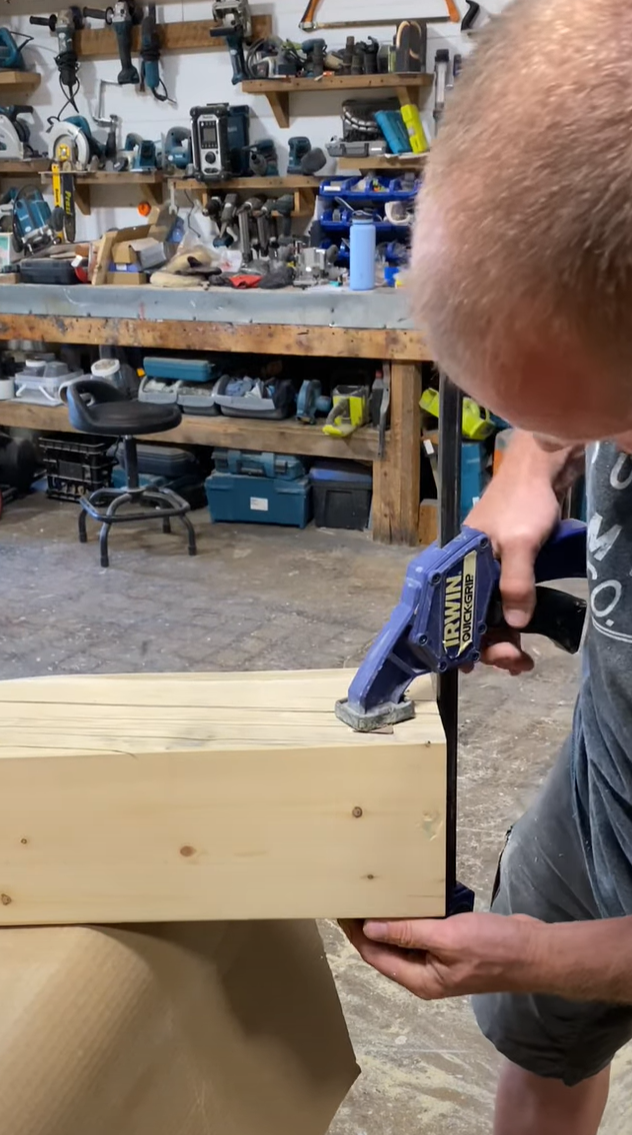
Clamp the large frame down
-
Add the bushing and bit inside of router
-
Set router depth: place the inlay on top of the plastic frame, set the router on top of the inlay and lower the bit down until it’s just above the wood (I leave them a little tall so I can sand them down afterwards)
-
Turn on router
-
Cut around the outside, following the templates edges
-
Blow out sawdust
-
Finish cutting out the inside with the router
-
Blow out sawdust again
-
Remove the clamps and frames


The corners you just made will have the radius of your router blade which may not match the wooden inlay. There are 2 things that can be done to get them to fit:
-
Use a hand chisel to clean up the corners after the router
-
Round the edges of the inlay to fit (I do this with my random orbital sander)


When ready to set in the inlay look for the side has the LINE on it, this side goes DOWN:
-
Ensure the hole is debris free
-
Add glue (I use Titebond) and spread it to all sides and entire bottom
-
Line up the inlay
-
Hammer it in gently with a mallet (should be nice a snug)
-
Clamp over the inlay to squish glue down and leave for a bit
-
Remove clamp and sand the inlay flat with the wood surface
-
Blow off sawdust
-
Finish the project with your desired stain and/or sealant


Slabstitcher has been a fantastic addition to my shop and my customers love the added character from the shaped inlays. I see myself using them for many, many projects. Check them out at and be sure to tell them I sent you.
